When it comes to listing your home, preparation is everything!
As a top real estate listing team in Charlotte, Fort Mill, and Charleston, here is our 3-step guide to Listing Prep and a few tips to maximize home value before you sell!
Step 1: Repair
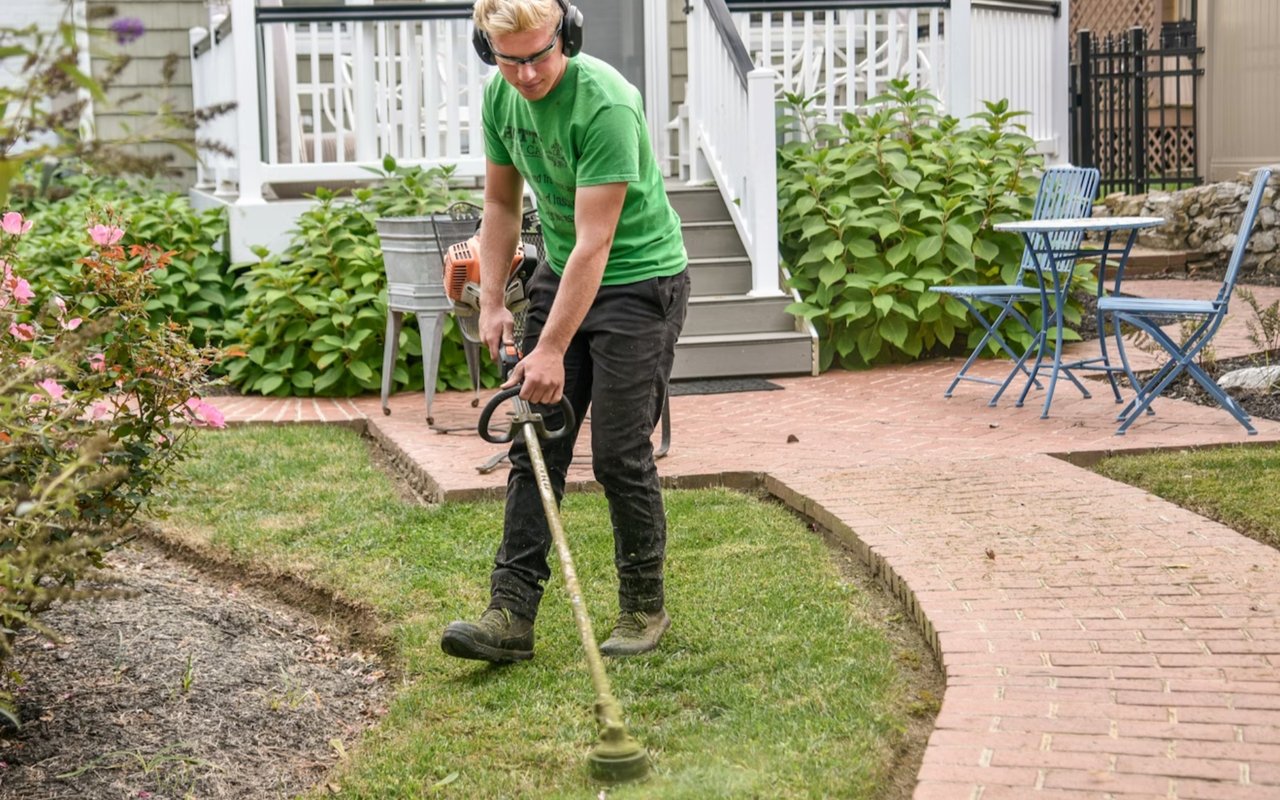
The goal for phase one is to bring the home back to baseline. You know that cracked window you’ve been meaning to replace, or the sliding door that never quite closes correctly? It’s time to call the handyman (or licensed professional if applicable) and have those properly repaired. Nothing tells a buyer that they will have work to do like obvious repairs that have been ignored. It’s also a great time to have systems serviced or any scheduled maintenance or upkeep completed (such as trimming hedges, HVAC servicing, changing air filters, etc).
The second item in this category is cleaning. If you do nothing else - clean your home from top to bottom! A potential buyer wants to know you take care of your home, so that means you need to take a few extra hours to clean the carpets thoroughly, scrub down the bathrooms, and take a magic eraser to those scuff marks and finger prints on the walls. Many people are willing to take on a project house, but walking into a home that feels dirty is sometimes the only thing it takes for a buyer to pass!
Step 2: Remove
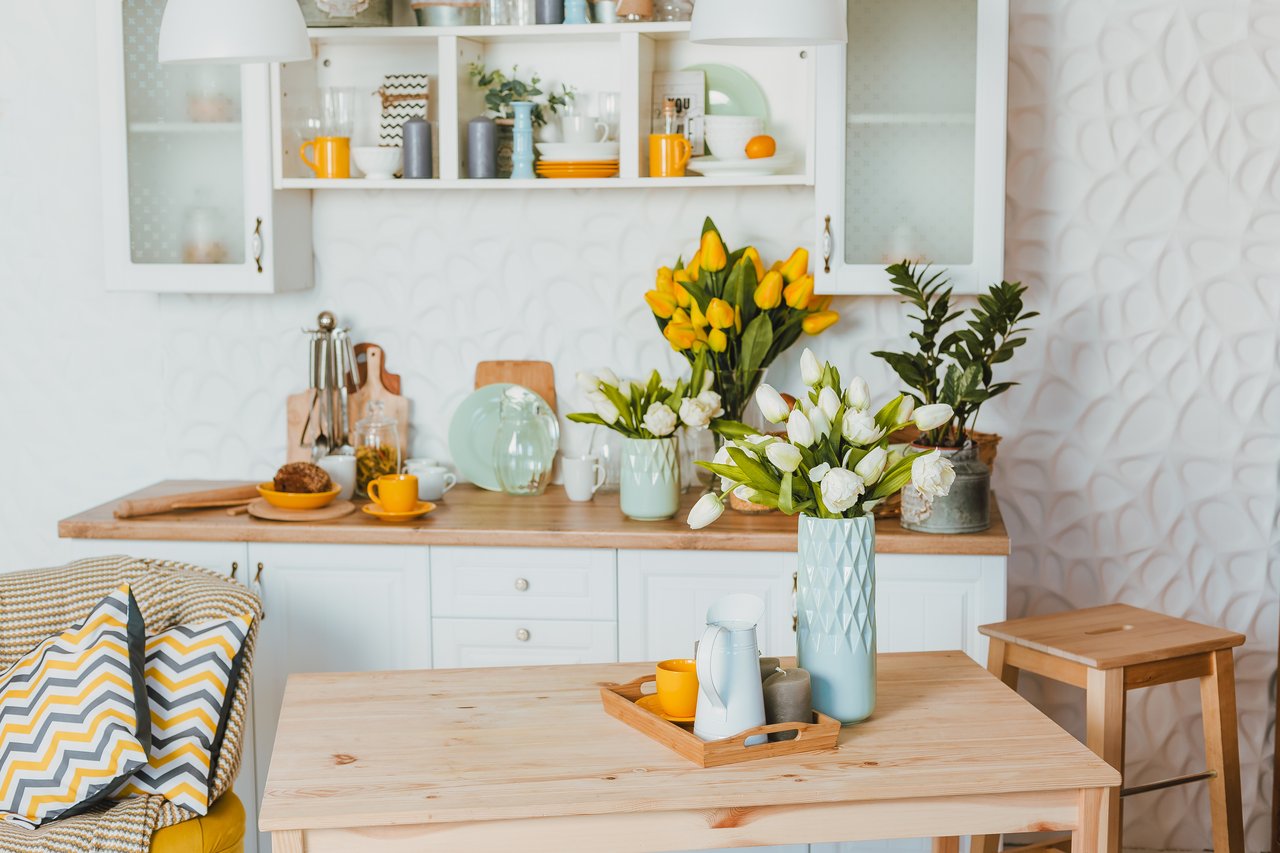
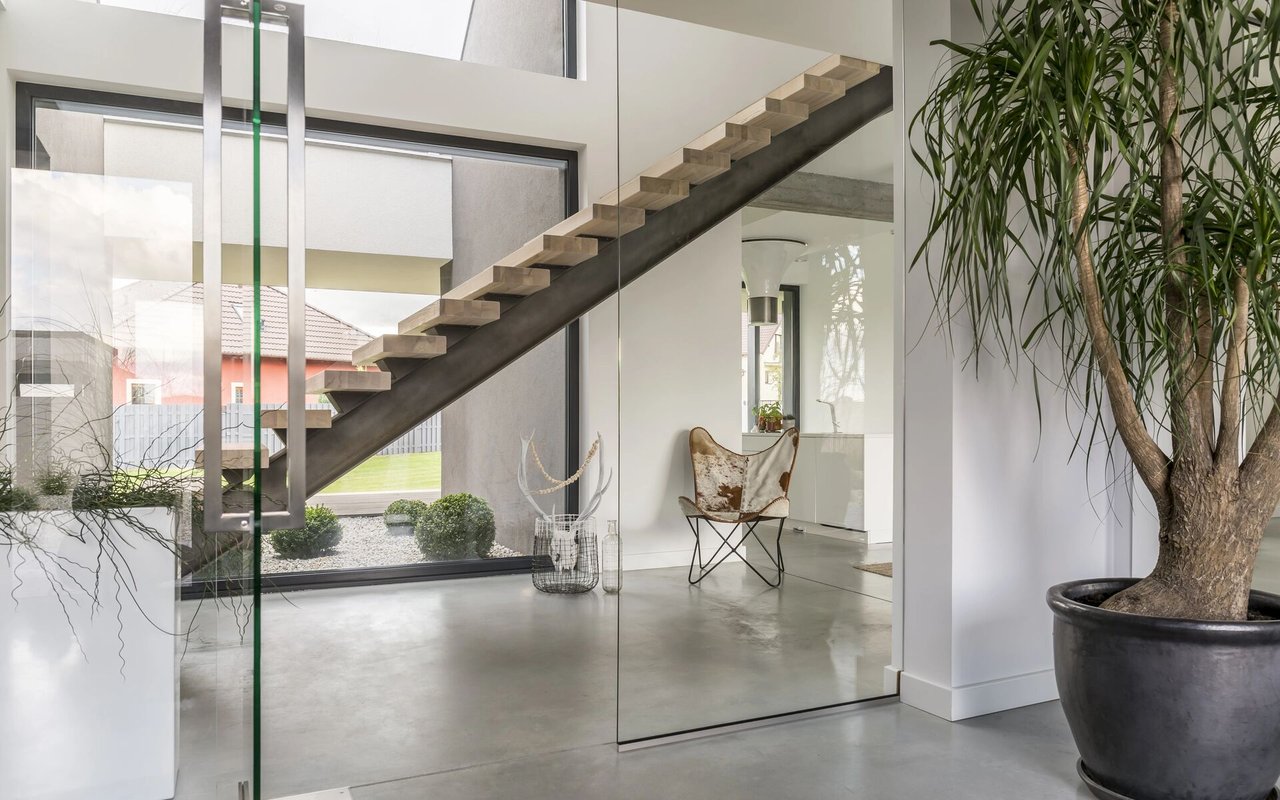
Many people refer to this as “decluttering” but really it’s much more than that! Start with the clutter - remove everything from horizontal surfaces like tables, countertops, and shelves. In an ideal world, everything a buyer sees should be intentionally placed with design and staging in mind. You want to give the buyer a clean slate so they can picture themselves living in the home, rather than seeing how you live in the home. Take all of those small appliances off of your kitchen counter and put them in the pantry for photos and showings. Remove items like paper towels, soap dispensers, toothbrushes and razors, and store those as well. Don’t forget to clean out storage areas such as closets, pantries, and laundry rooms. In the final step, we’ll come back through and add decorative items, but for now - clean and clear is best!
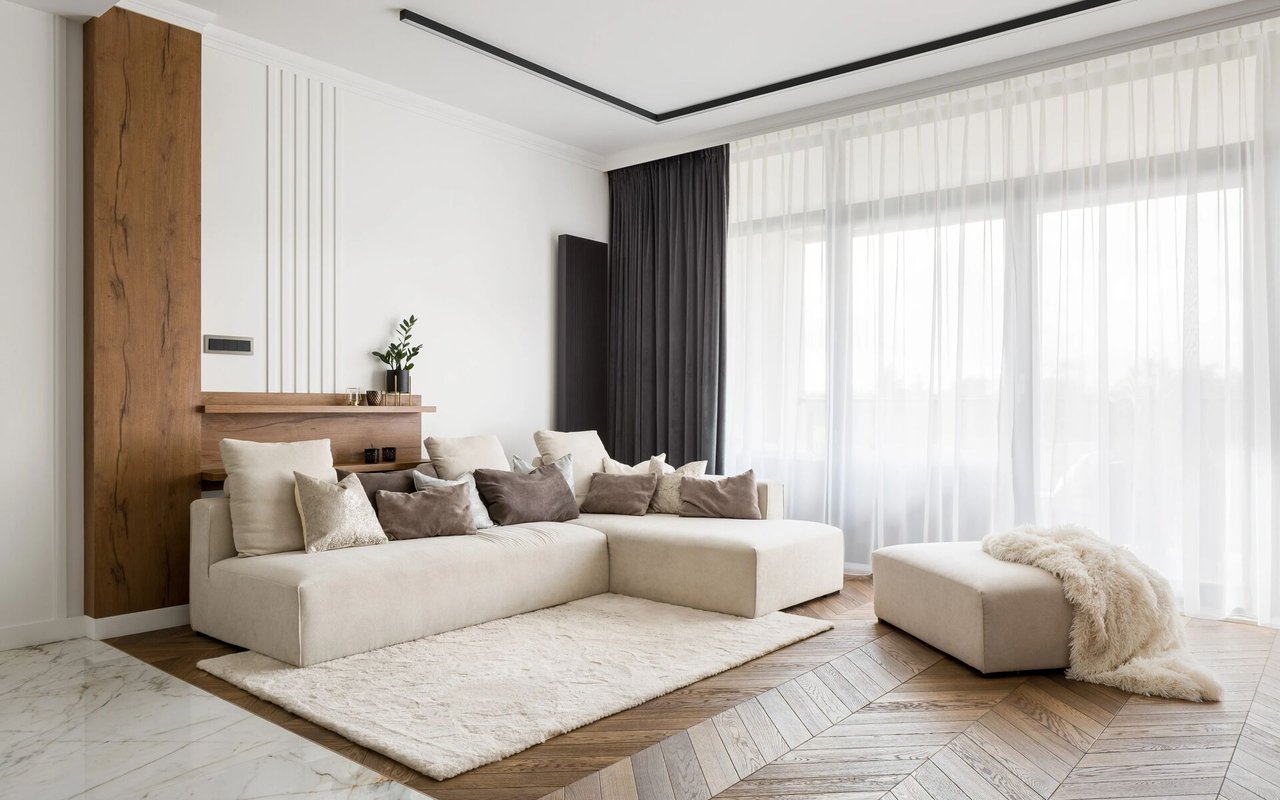
The next step is to remove items like unnecessary furniture and personalized decor. Remember, you want a potential buyer to see your home as one that could soon be theirs - so it’s best to take down family photos, and taste-specific artwork or memorabilia. Try walking through your house as if you are a buyer walking into each room for the first time and look for bulky items that could be removed. Sometimes that incredibly comfortable oversized chair impedes the flow of the living room, maybe there are dark window coverings blocking out natural light, or the extra dresser makes a bedroom feel smaller than it really is. If possible, you want to remove any items that take away from the home’s natural flow.
Pro tip: Don’t be afraid to look at your home through the lens of a camera! When you take a photo of your living room, does your eye go directly down to the bright red rug, or up to the crown molding and custom built-ins? Almost every potential homebuyer sees photos online before deciding if they want to tour in person, so make sure they aren’t distracted by your personal items and can clearly focus on the beautiful features of the house itself!
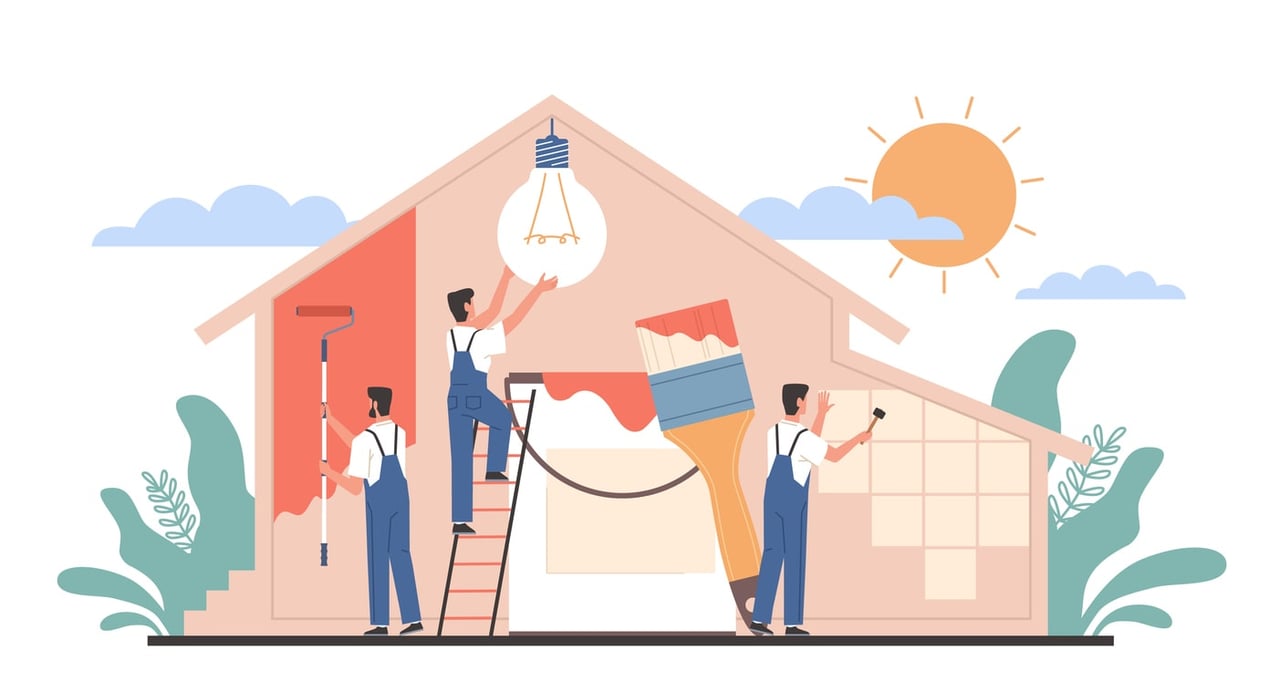
Step 3: Improve
This is where it really gets fun! A great listing agent will partner with their go-to stager to add a huge amount of value to your listing. In the meantime, here are a few tips you can do yourself before the stagers take over!
- Paint - a fresh coat of light, neutral paint goes a long way. This is almost always a suggestion that would increase value.
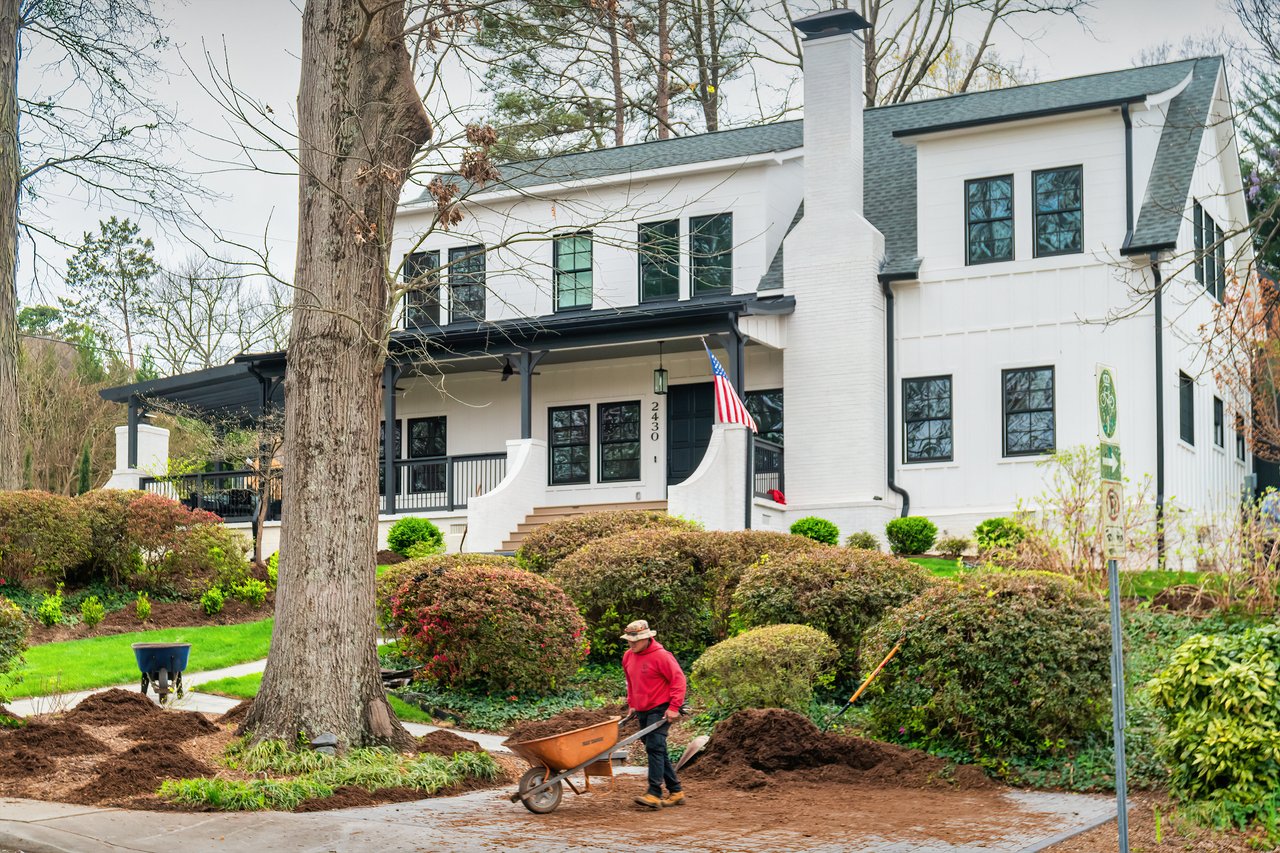
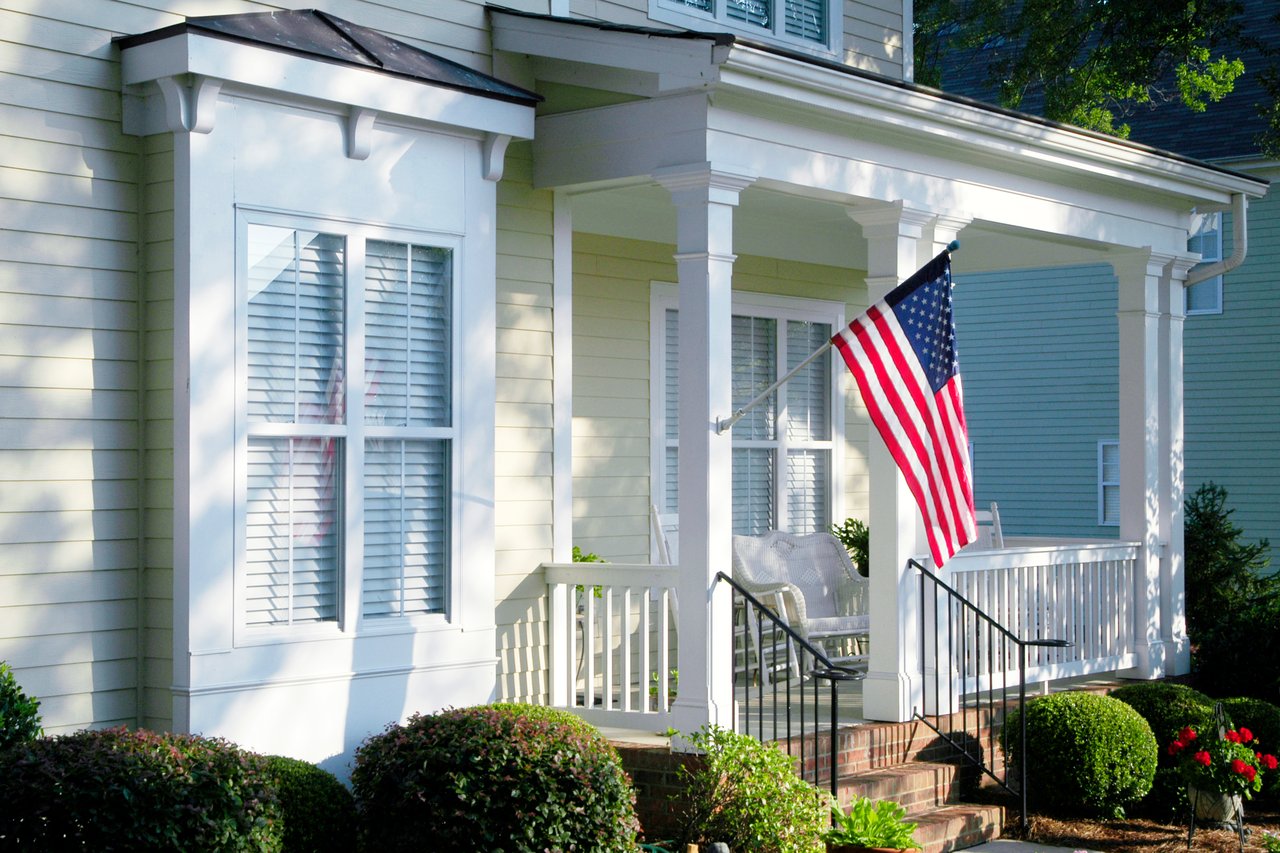
- Landscaping - invest in fresh mulch and some potted plants outside. If needed, consider painting the exterior or even just the front door, updating your house numbers, or adding some new landscaping if your budget allows. The exterior of your home is your first impression, so don’t miss this opportunity to really “wow” a potential buyer!
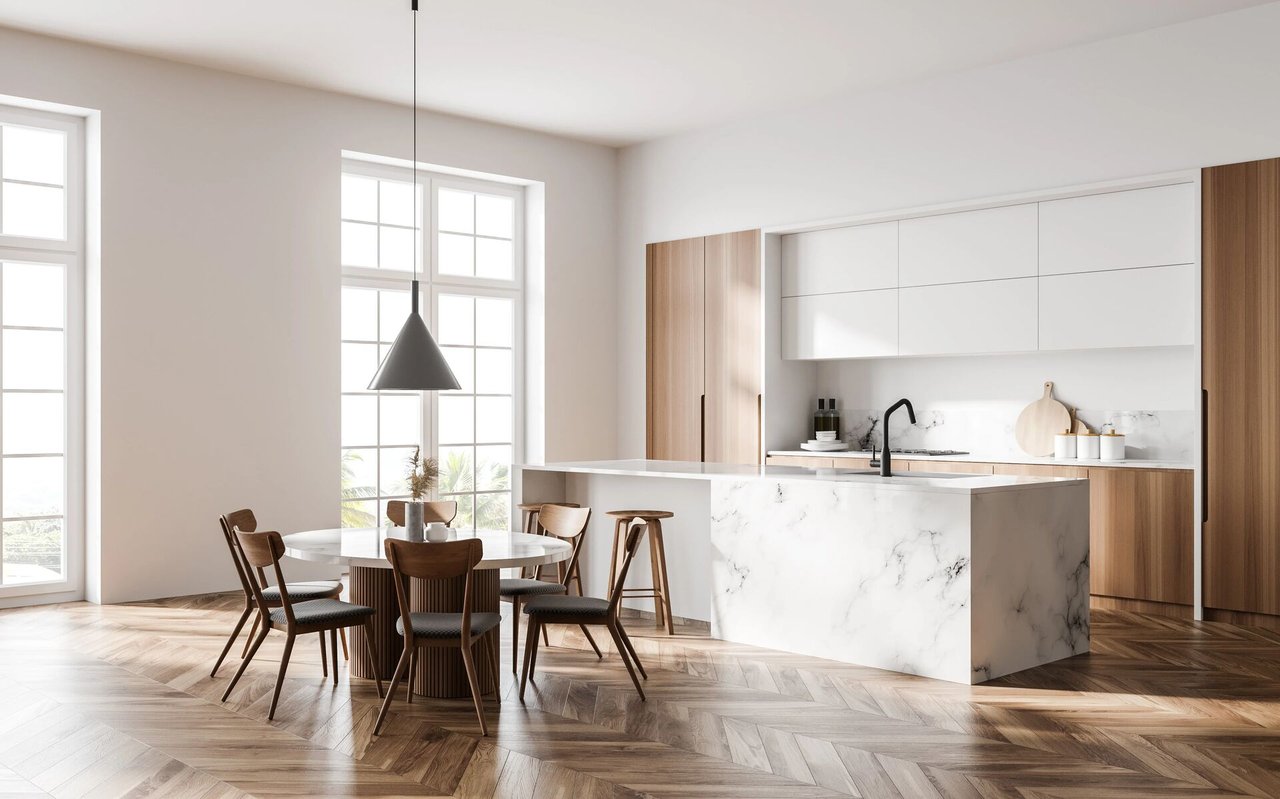
- Consider important areas like the kitchen - if needed, painting cabinets, changing out hardware, or updating an outdated backsplash are often projects that will bring a high return.
- Consider replacing light fixtures, carpets, or bathroom fixtures if needed.
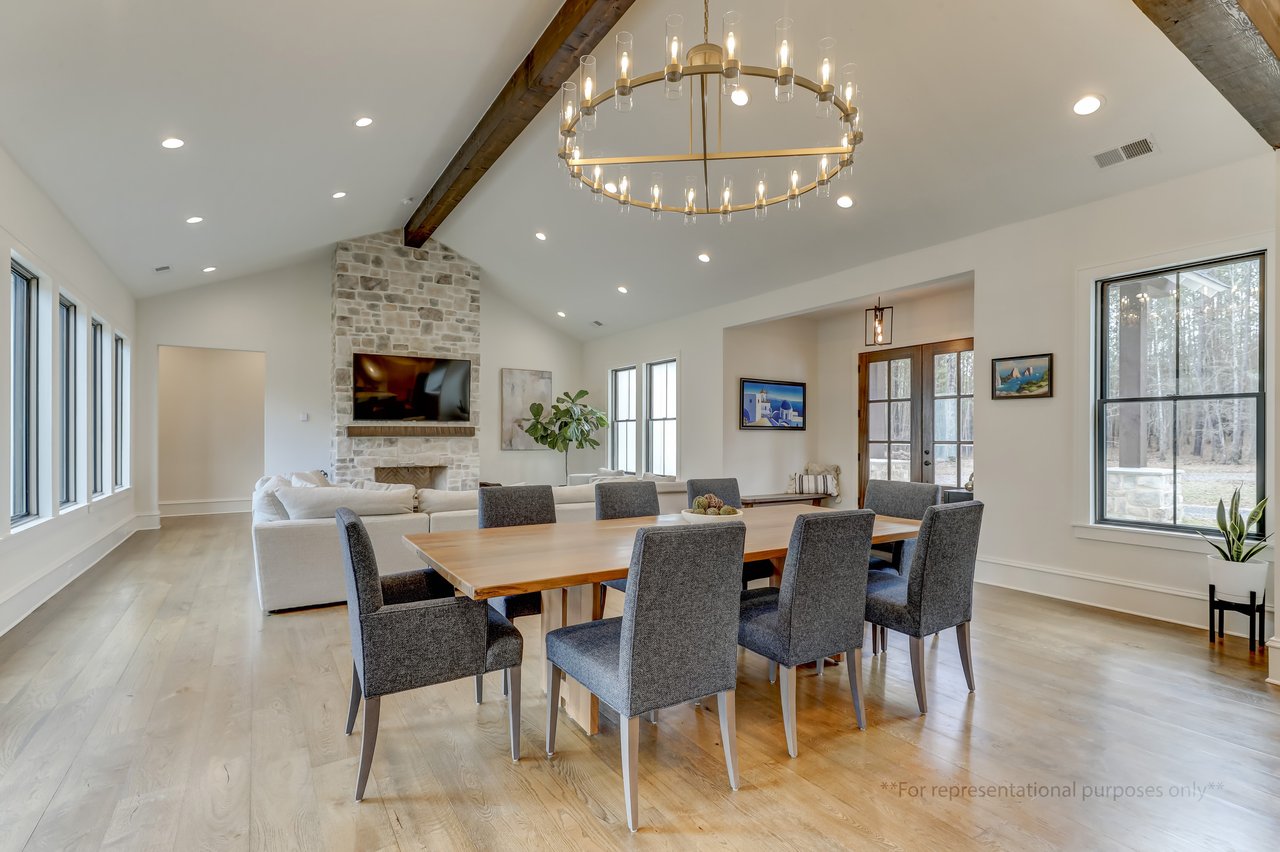
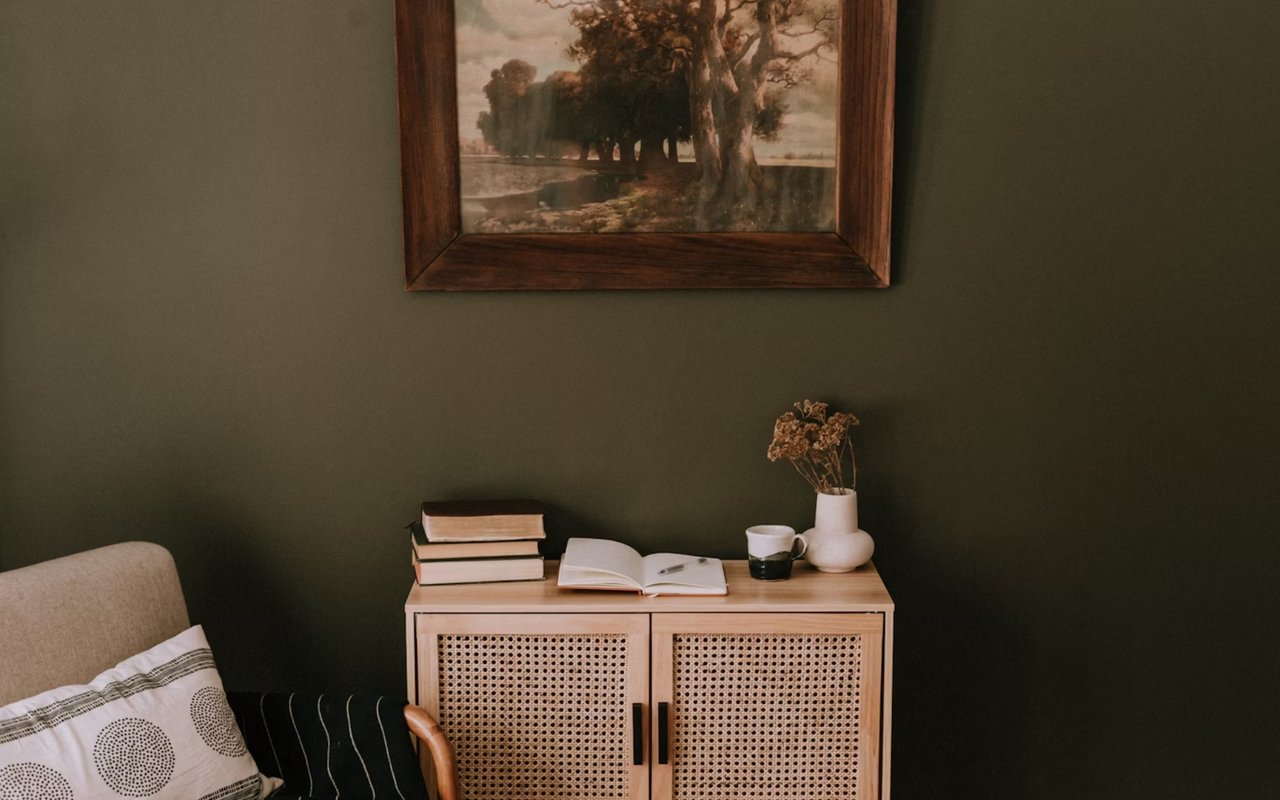
- Stage the home - this really could be it’s own blog post, but the final step is to bring in needed items to take your listing to the next level. As a general rule: return each room to its intended function, add large scale artwork and a few decorative items to finish the look.
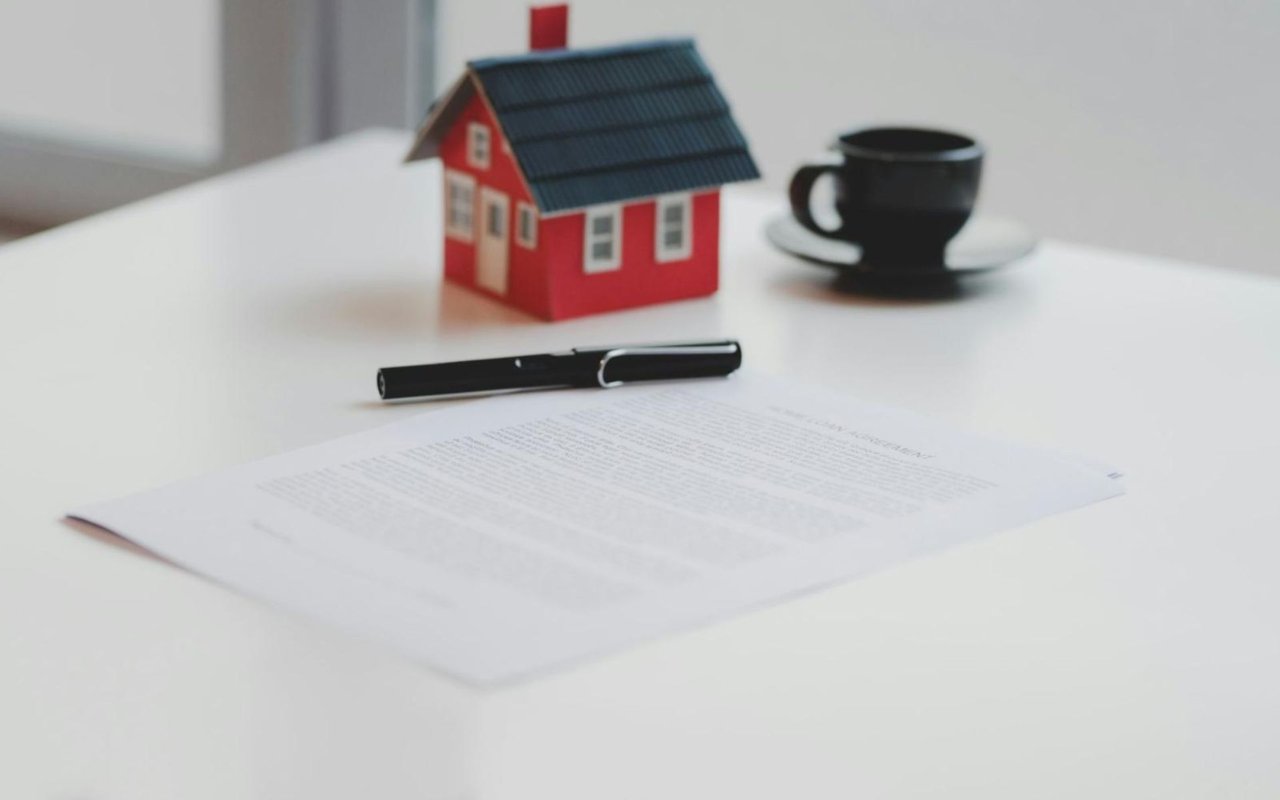
What about the cost of all of this?
We can’t complete this post without mentioning Compass Concierge. This service is exclusive to Compass clients and covers the up-front cost of all of these steps (and more!) as you prepare to list your home. Contact us for all of the details on how to take advantage of this option before spending a penny on anything yourself!
Ultimately, every home is unique and will have its own specialized needs to prepare for listing. An experienced Realtor® will utilize these three steps and develop a customized approach to maximize your home’s value on the market. If you’re considering selling your house soon, reach out to get started!